Harbor Upgrades
Harbor is a fantastic docker registry that is easy to use and has a fancy UI. I’ve been running harbor since 2018. Harbor allows you to setup LDAP as an authentication backend, perfect for using private projects with your team.
Private package registries don’t need to do much. When I think about it, all it does for our team is and serve some files behind authentication. But these files can be critical. If we suffer a disaster and the registry is not up, we would have to build our images from source. And who knows if we are going to have access to everything needed to build images. My point is, registries are important so today I’ll be giving mine some much needed TLC.
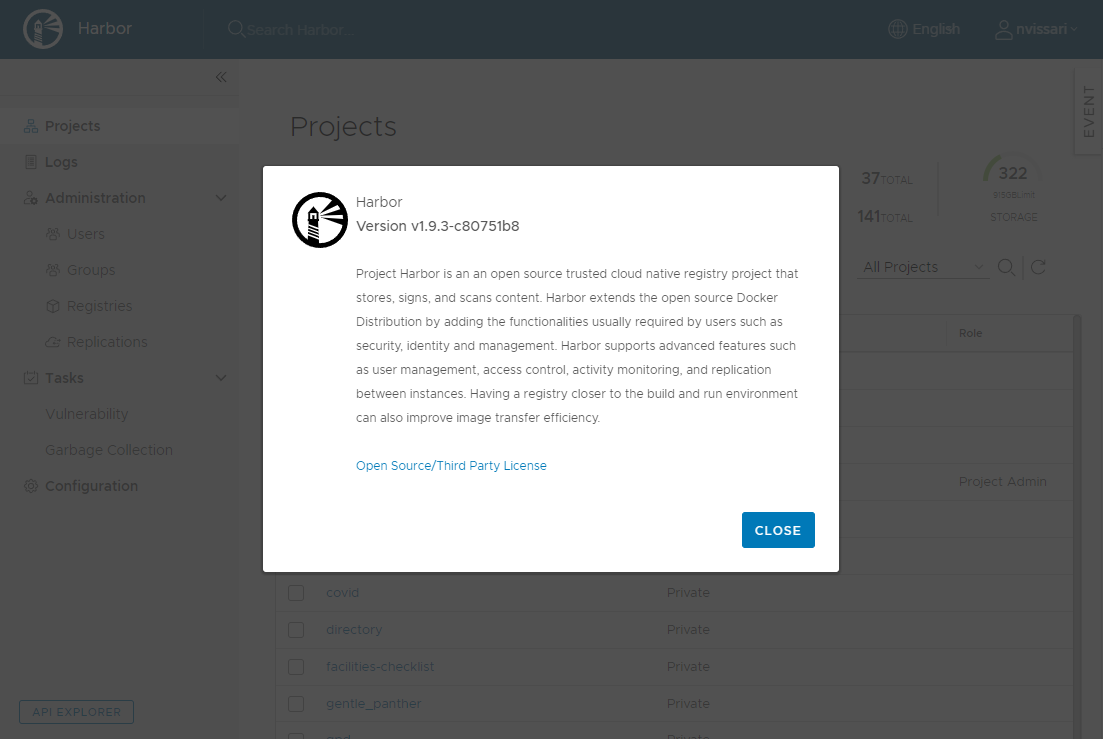
It’s been years since I’ve worked on my Harbor implementation. Current version is 1.9.3, which was released in November 2019, ouch.
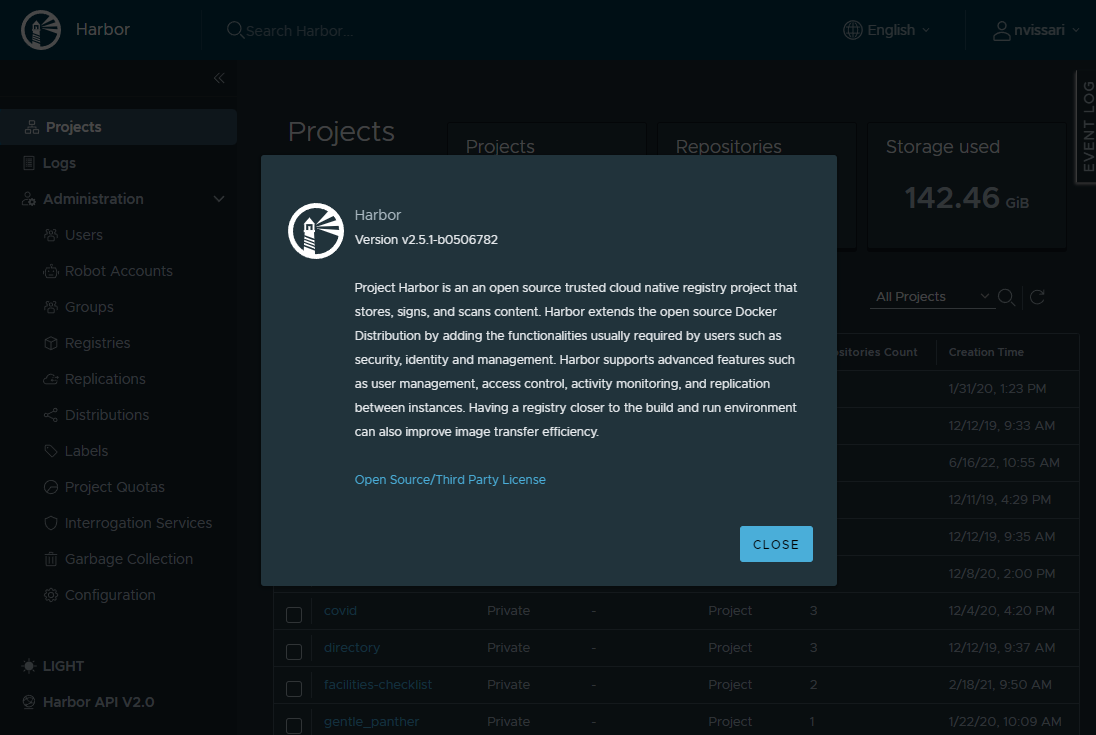
Thankfully harbor provides pretty good upgrade docs. Reading the docs I learn to get to the latest version 2.5.1, I’ll need to perform three upgrades.
- From 1.9.3 to 1.10.0 https://goharbor.io/docs/1.10/administration/upgrade/
- Then 1.10.0 to 2.3.0 https://goharbor.io/docs/2.3.0/administration/upgrade/
- And finally 2.3.0 to 2.5.1 https://goharbor.io/docs/2.5.0/administration/upgrade/
First, I’ll restore my latest 1.9.3 backup and test this upgrade path. Once I know everything works, I’ll have what I need for production.
I happen to have a throwaway test box that has the same configuration as prod. I created ssh keys for root and rsynced the data from the backup.
rsync -av /data/ testbox:/data/
In my case there is a harbor directory in my home directory that contains the original docker-compose.yml file, TLS keys, and other configuation files. I’ll need that too.
rsync -av /home/nickadam/harbor/ testbox:/home/nickadam/harbor/
Now from the test box I can check that the restore worked. Simply run docker-compose up and wait for all the services to be healthy.
cd ~/harbor
sudo docker-compose up -d
watch docker ps -a
Once everything is healthy, I like to login to the web UI and poke around a bit, watching for anything out of the ordinary. Not very sophisticated, but better than nothing.
To start the first upgrade, we take harbor down.
cd ~/harbor
sudo docker-compose down
The next part of the upgrade documentation could be more clear. I have all my configuration files in the ~/harbor folder and the docs say to download the latest version. I don’t want to risk clobbering what I have, nor do I want to download the latest version, I want version 1.10.0. I’ll download the specific version into a separate directory.
cd ~
mkdir 1.10.0
cd 1.10.0/
curl -fsLO https://github.com/goharbor/harbor/releases/download/v1.10.0/harbor-online-installer-v1.10.0.tgz
tar xzfv harbor-online-installer-v1.10.0.tgz
I haven’t made any changes to the current instance files yet. Here comes the real changes.
For 1.9.3 to 1.10.0 there is a migrator tool that is responsible for updating the harbor.yml file. Let’s make a copy of our existing harbor.yml file and run the migrator tool.
cd ~/harbor
sudo docker pull goharbor/harbor-migrator:v1.10.0
cp harbor.yml ~/harbor-1.9.3.yml
sudo docker run -it --rm -v /home/nickadam/harbor/harbor.yml:/harbor-migration/harbor-cfg/harbor.yml goharbor/harbor-migrator:v1.10.0 --cfg up
Running a diff between the two files shows, aside from a lot of comments, very little has really changed.
101c99,100
< _version: 1.10.0
---
> _version: 1.9.0
Pretty simple.
Now I’m supposed to run the installer.sh script. I presume they mean the file sitting in my 1.10.0 directory. The online installer I downloaded only contains 5 files, one of them being the all important harbor.yml file. I’ll move all except the harbor.yml file to the production directory.
cd ~/harbor
mv ../1.10.0/harbor/common.sh ../1.10.0/harbor/install.sh ../1.10.0/harbor/LICENSE ../1.10.0/harbor/prepare .
Now I can run the install script and see what happens.
sudo ./install.sh
Again, wait for all the services to be healthy then poke around in the web UI. All good, 1.10.0 done! On to 2.3.0.
First take it down.
cd ~/harbor
sudo docker-compose down
Download 2.3.0 into a separate directory.
cd ~
mkdir 2.3.0
cd 2.3.0
curl -fsLO https://github.com/goharbor/harbor/releases/download/v2.3.0/harbor-online-installer-v2.3.0.tgz
tar xzvf harbor-online-installer-v2.3.0.tgz
Perform the prepare step. This is notably different from the migrate step in 1.10.0. Rather than having access to just the harbor.yml file, this get’s access to the entire system under /hostfs. That’s a lot of opportunity for change. For now, I’ll trust the tool to do no evil.
sudo docker pull goharbor/prepare:v2.3.0
cp /home/nickadam/harbor/harbor.yml ~/harbor-1.10.0.yml
sudo docker run -it --rm -v /:/hostfs goharbor/prepare:v2.3.0 migrate -i /home/nickadam/harbor/harbor.yml
Move the 2.3.0 installer stuff.
cd ~/harbor
mv ../2.3.0/harbor/common.sh ../2.3.0/harbor/install.sh ../2.3.0/harbor/LICENSE ../2.3.0/harbor/prepare .
Run the install script.
sudo ./install.sh
Once again, wait for all the services to be healthy then poke around in the web UI. Ooh dark mode. All good, 2.3.0 done! On to the final upgrade 2.5.1.
Take it down.
cd ~/harbor
sudo docker-compose down
Download 2.5.1 into a separate directory.
cd ~
mkdir 2.5.1
cd 2.5.1
curl -fsLO https://github.com/goharbor/harbor/releases/download/v2.5.1/harbor-online-installer-v2.5.1.tgz
tar xzvf harbor-online-installer-v2.5.1.tgz
Prepare.
sudo docker pull goharbor/prepare:v2.5.1
cp /home/nickadam/harbor/harbor.yml ~/harbor-2.3.0.yml
sudo docker run -it --rm -v /:/hostfs goharbor/prepare:v2.5.1 migrate -i /home/nickadam/harbor/harbor.yml
Move the 2.5.1 installer stuff.
cd ~/harbor
mv ../2.5.1/harbor/common.sh ../2.5.1/harbor/install.sh ../2.5.1/harbor/LICENSE ../2.5.1/harbor/prepare .
Run the install script.
sudo ./install.sh
And with one final web UI check we are done with upgrades!
Repeating these steps in production went as easy as it did in testing. Harbor really makes catching up on years of neglect easy to do.
The last thing I want to do is establish a failover system that will sync my harbor installation once an hour. Now there are fancy features in Harbor that will replicate images between other running instances. Sounds cool and all, but I don’t want to take the time to learn about that just yet. I’m going to use a simple backup script and cron job to copy everything over to another host in another datacenter once an hour. Good enough for me. If you are interested here is the script.
#!/bin/bash

backup_host="otherhost.example.com"

# stop the backup instance
ssh $backup_host 'cd /home/nickadam/harbor && docker-compose down'

# Since I'm not taking down production to perform this sync, I backup the data
# directory 3 times in a row to account for subtle changes that may occur on the
# production data during the sync. By the third sync, hopefully there haven't
# been any changes and nothing ends up being transferred. There is a good change
# it will be a working backup.
rsync -av --numeric-ids --delete /data/ $backup_host:/data/
rsync -av --numeric-ids --delete /data/ $backup_host:/data/
rsync -av --numeric-ids --delete /data/ $backup_host:/data/

rsync -av --delete /home/nickadam/harbor/ $backup_host:/home/nickadam/harbor/

# start the backup instance
ssh $backup_host 'cd /home/nickadam/harbor && docker-compose up -d'
Getting this script working provided a learning opportunity. At first I didn’t have the --numeric-ids option. When I first launched Harbor, the database wouldn’t start. The logs indicated there was a problem with file permissions.
The destination system has the same usernames but different user IDs from the source system. I had no idea that rsync would, by default, match the username and replace the file ownership on the fly. Cool, but not great for my case. From the host’s perspective, the file permissions are irrelevant. The container’s user IDs are what matters. Anyway, --numeric-ids effectively prevent rsync from modifying the file ownership between hosts. Excellent!
Enjoy!